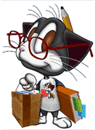

Cartoon Class
We often get asked how the characters and images are created at SKS. So we’ve put together a guide for how the basics work in our studio.
SKS actually uses a combination of image styles and constructions to arrive at the look and feel we want.
Most importantly, each character and prop starts as a hand concept sketch. After that, the images undergo numerous stages to bring that sketch to life. This process can vary with different images, but we’ll outline the fundamental process to give you an idea of what we do.
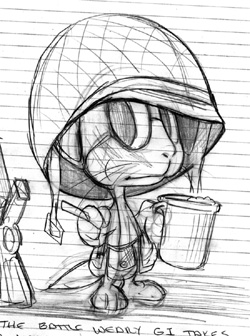 The Concept Sketch
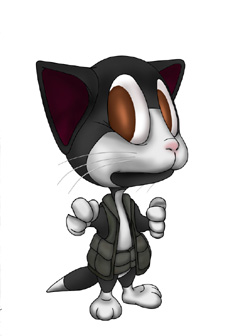
It all starts here with the original idea and a quickie sketch to solidify the concept. Our new character here, Soldier Brodie, starts life on a clipboard. These ideas and sketches can happen anywhere and usually do. The drawing may be far from the final item, but it is the seed from which the refinement process starts. A concept may undergo a dozen of these sketches before proceeding.
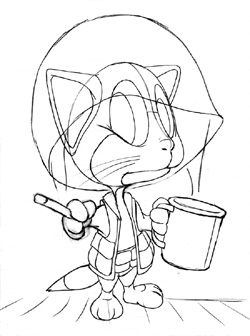 Rough Sketch
We've decided our new Brodie character concept is ready, so now it's time to draw a Rough Sketch. This sketch is actually a refined version of our original concept done in the studio.
At this stage, details like position, posture and expression are critical. All aspects of the final image must be taken into account here.
Items that the character has on or with him (called Practicals) are conceived and added to the sketch at this point for later reference. Careful planning at this stage ensures that everything will interact smoothly in the upcoming processes.
 Finish Line
We're on the computer now and the Rough Sketch pencil image has been scanned, imported and digitized.
In this operation the hand-drawn sketch lines are carefully converted into more precise lines. Minor refinements to scale, position or perspective can be done here. The most important part of this stage is maintaining the original 'feel' of the previous hand-drawn sketches and concepts.
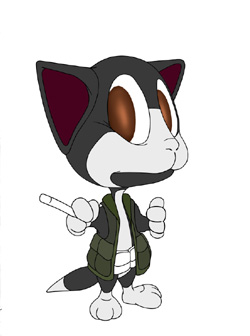 Colour Flood
Now we get to add colour to our image. The Finish Lines give us the colour boundaries for this process. These colour areas are then digitally masked to provide clean separation and definition.
At this point only a solid base colour is chosen and digitally placed in the masked areas. This colour is called a Flood and we usually start with ones in the mid-range shade of our choice.
This stage really begins to breathe life into our image.
 Shading
After colours are chosen and areas flooded with a solid color its time to add a bit of depth and realism.
The masked color areas are now shaded and highlighted individually. A digital airbrush allows fine and subtle details to be added and brings the image into a more dimensional mode.
The lighting intent of the final image must now be taken into consideration.
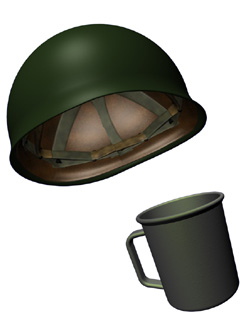 Props & Practicals
All the while our image has been undergoing transformation the various Practicals (props) are being created. Depending on detail required, they may be done in a similar manner or in a 3D modeling program.
These various items must then be visually merged with the character image. Color, shading, highlighting, size and perspective are just a few of the aspects of this process.
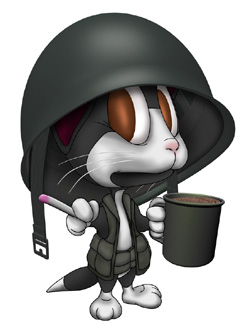 Compositing
This is the point at which everything comes together. Our character is merged with his Practicals and props and everything is adjusted to match lighting, colour and shading.
Minor adjustments can be made to image proportions to fine-tune the visual interaction. Artwork with multiple characters get combinations of these composited images merged together.